Sponsored advertising content: I’ve received compensation from MBNA for this sponsored post. As always, all opinions are my own
As our home renovation comes to an end, we can finally start sharing the before, after and in-between. We are still waiting on a few pieces, looking to clean one of our chairs, and make the spaces more or less camera-ready. Schedule-wise, we have been in and out of the house; our suitcases are never unpacked; we’ve been coming and going, and it’s hard to keep this place clean. The struggle is very real. I’m a perfectionist, and just like when you have guests over at your home, I want to make sure that it’s at its best before you get to see it. We’re starting things off with a fun DIY project we decided to take on because we weren’t able to find anything that worked with our requirements. My MBNA World Elite® Mastercard® credit card gives me the flexibility to redeem my points in a number of ways. With it’s help we acquired some of the major key pieces you will see in this project, including the shelving unit itself. You already saw the beginning stages of gathering materials and getting it off the ground in our first post of this series, and now we’re finally ready to show you the final product!
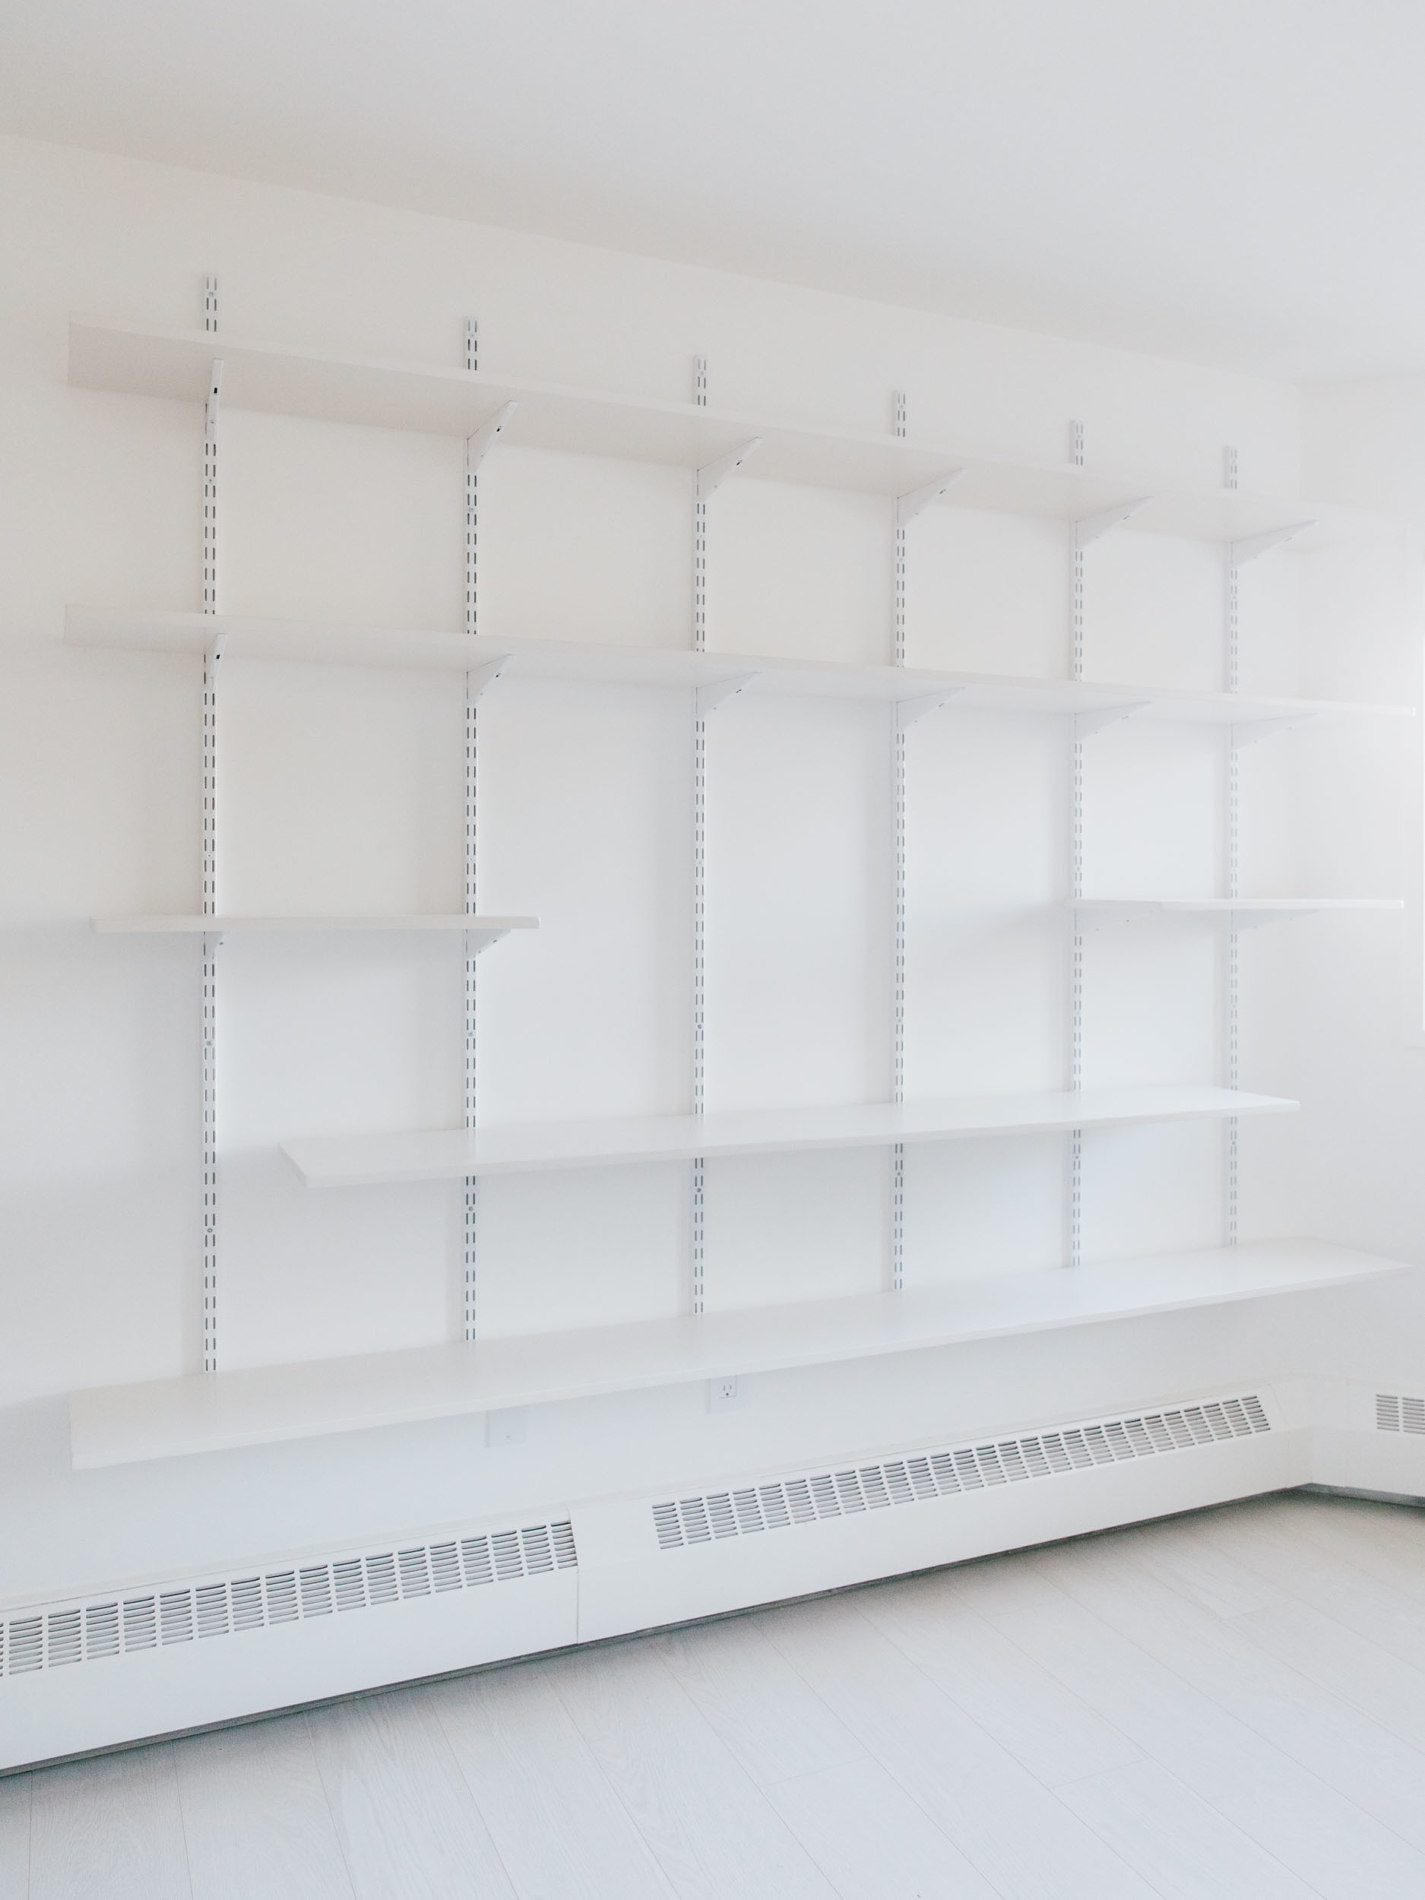
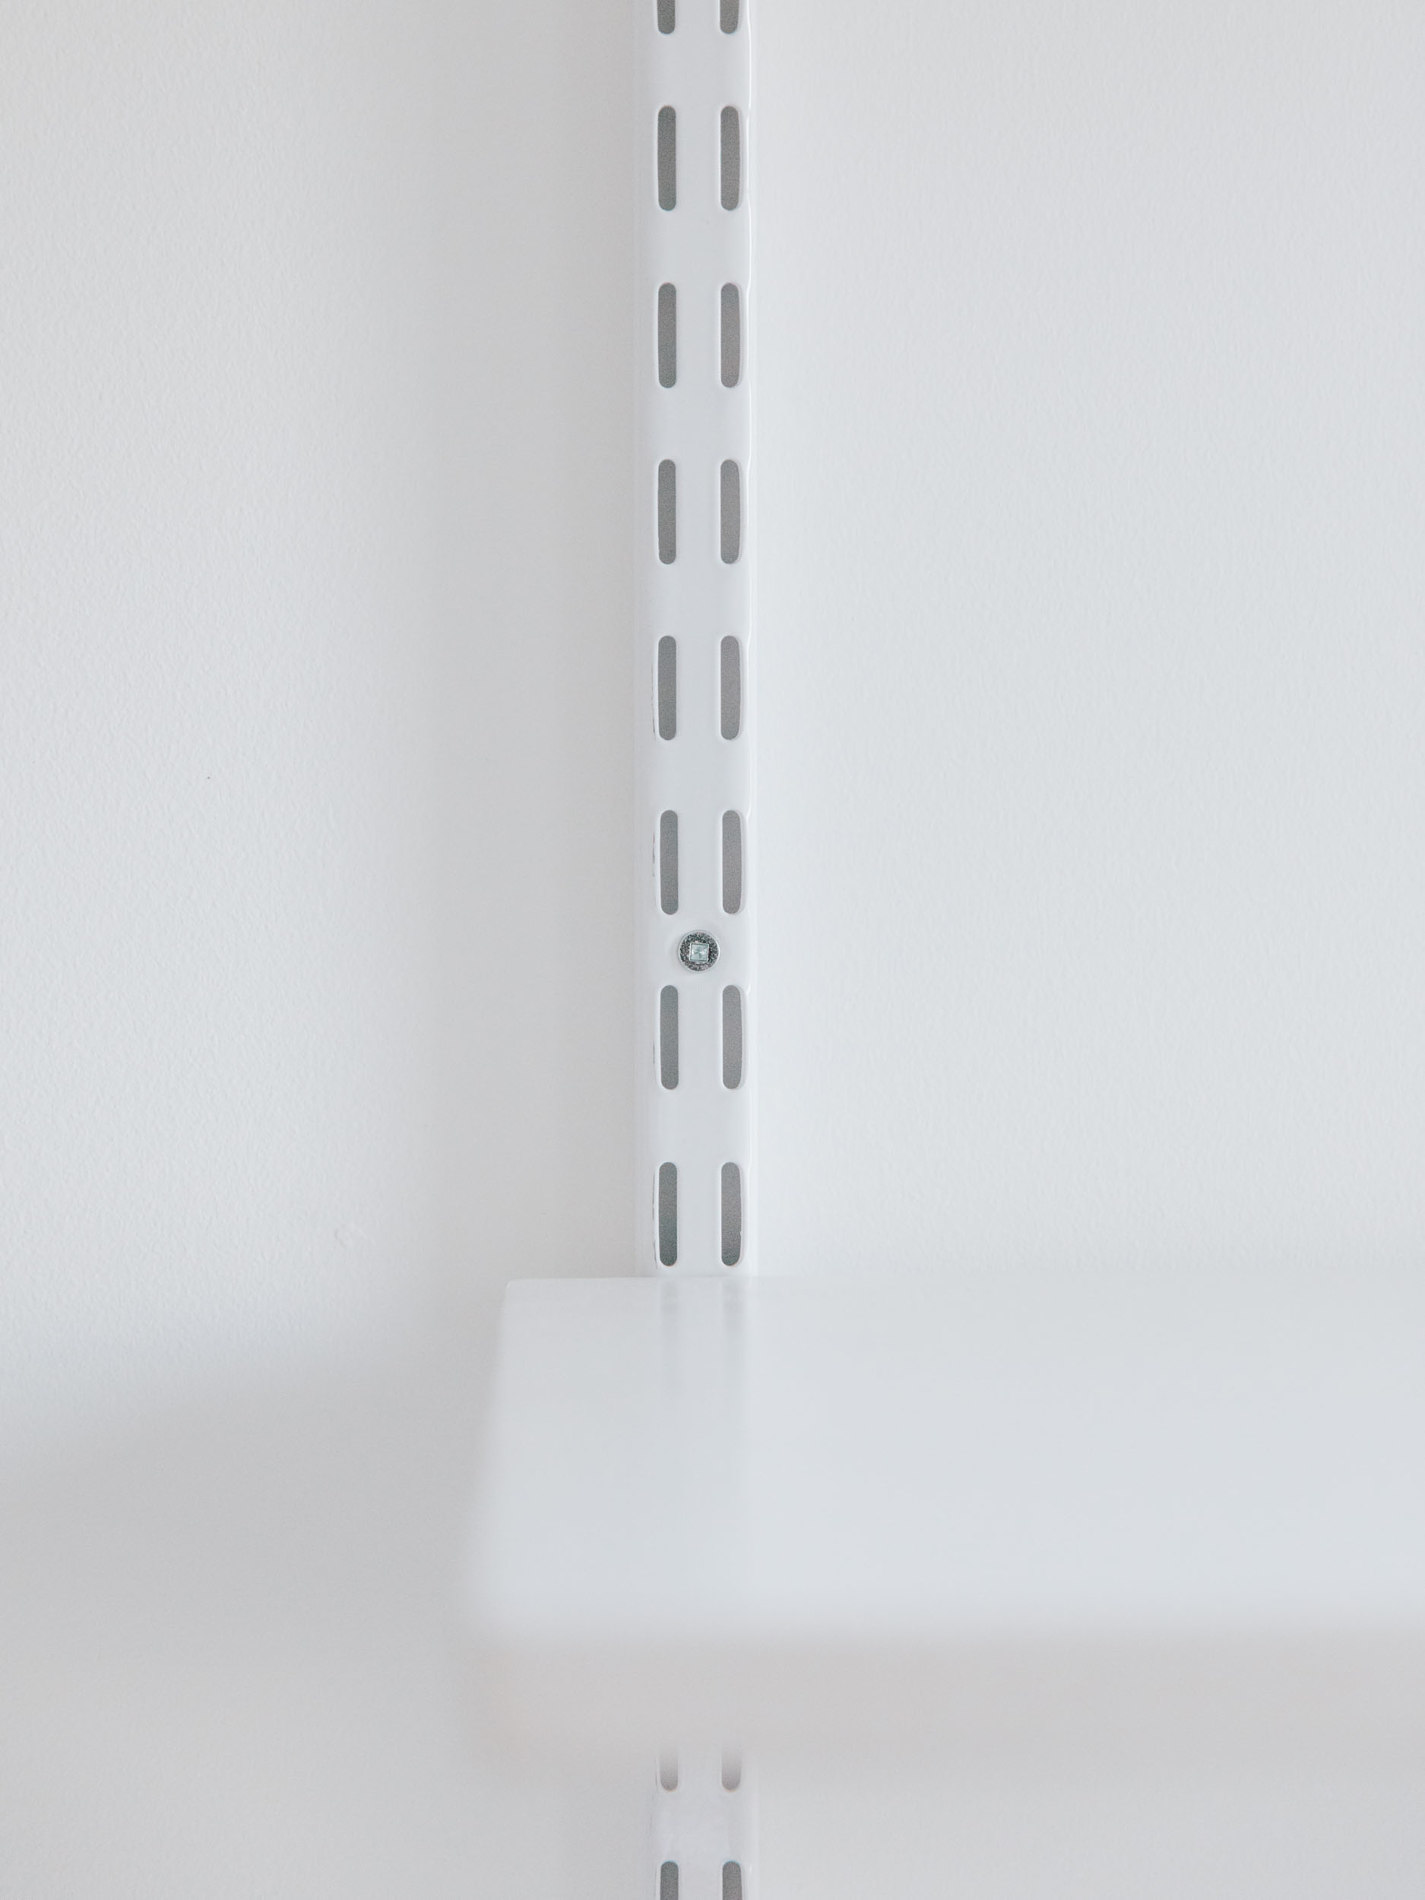
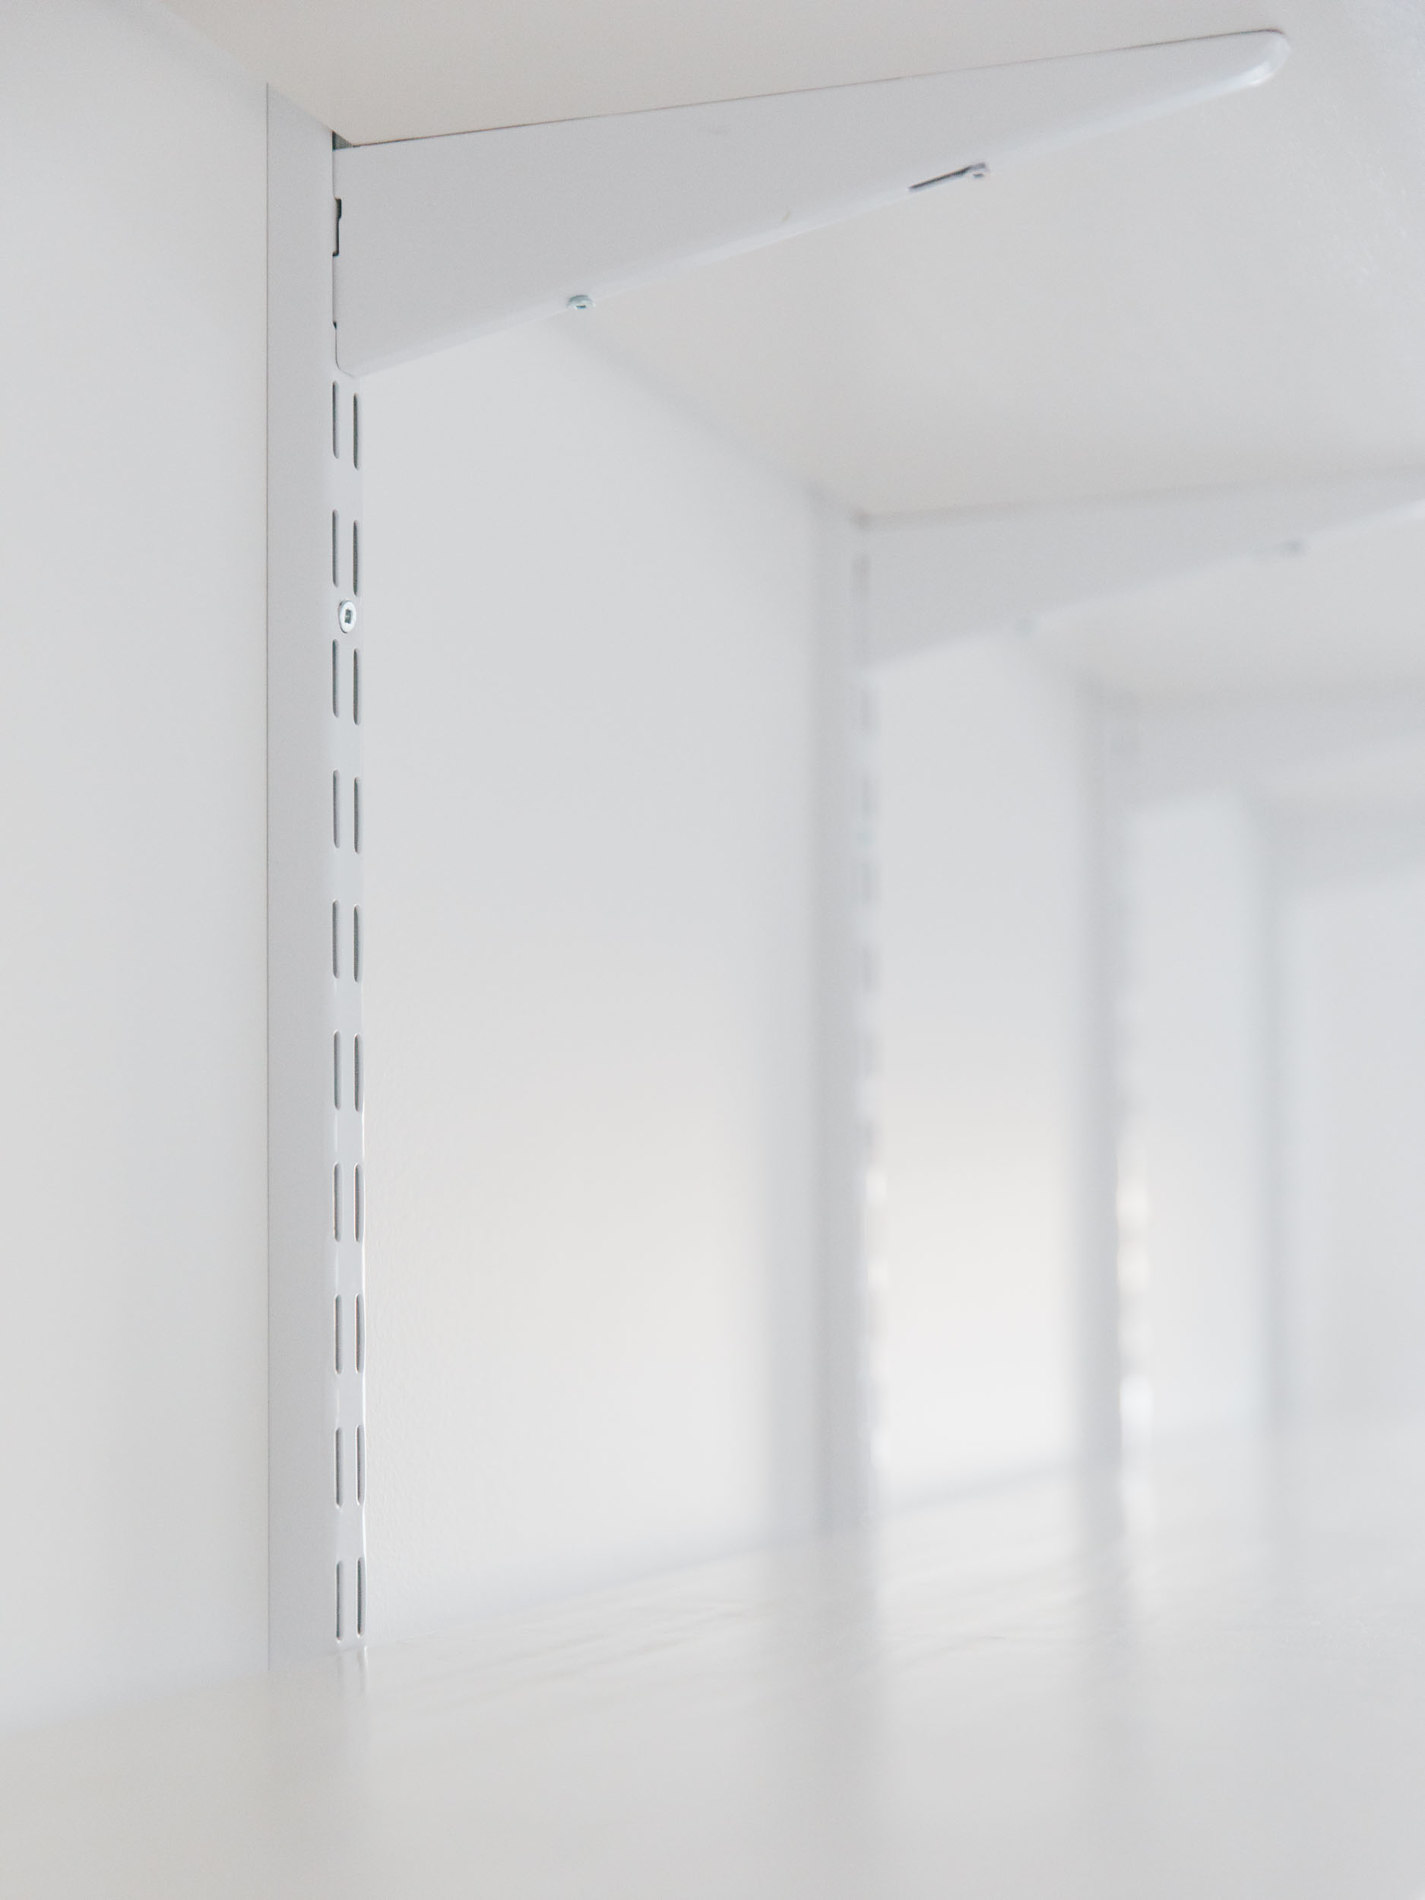
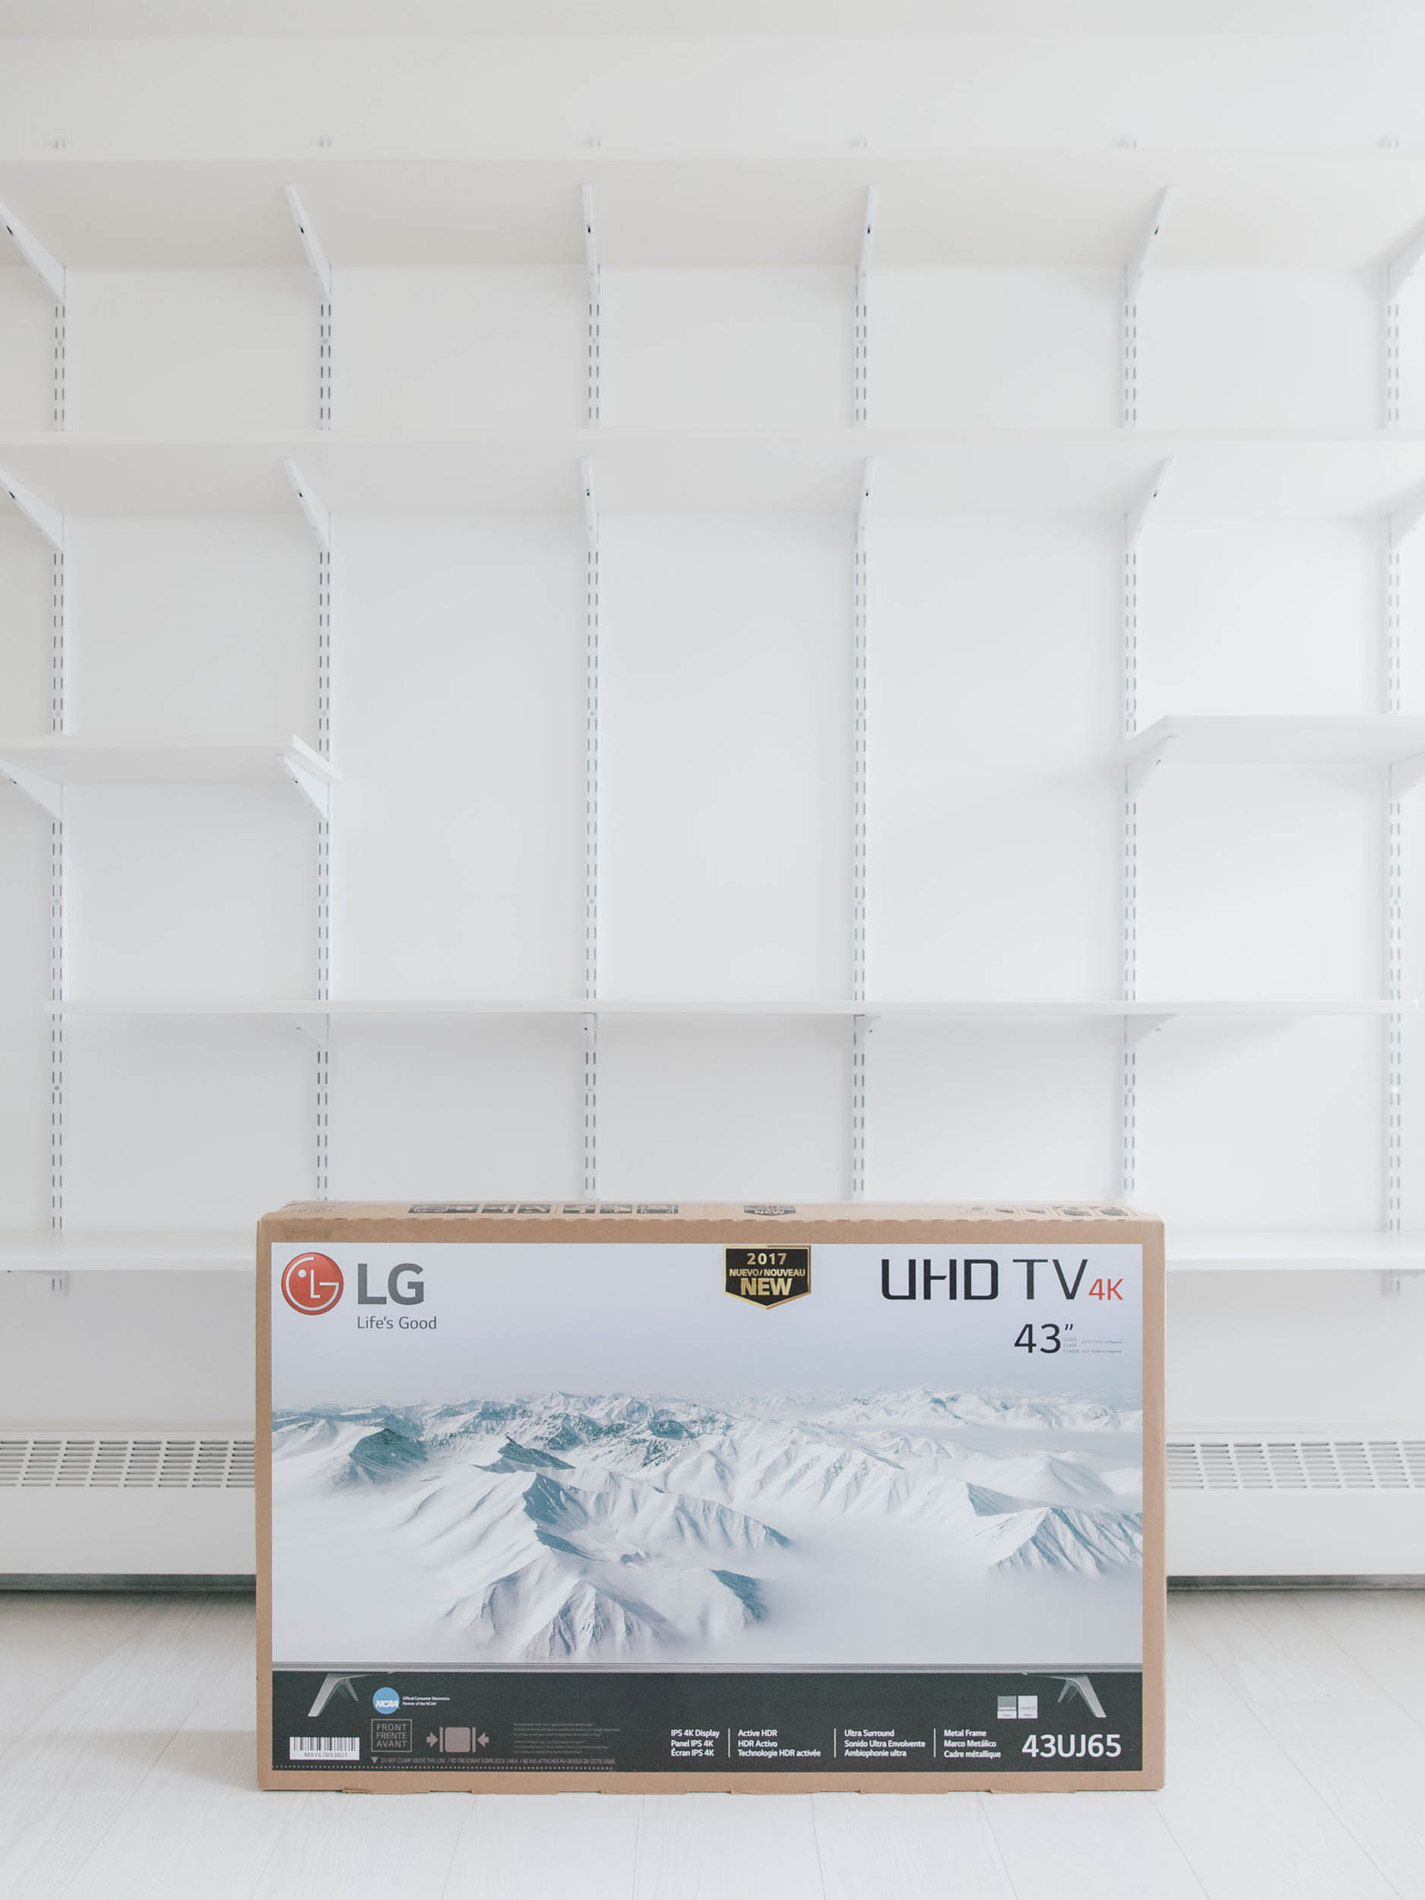
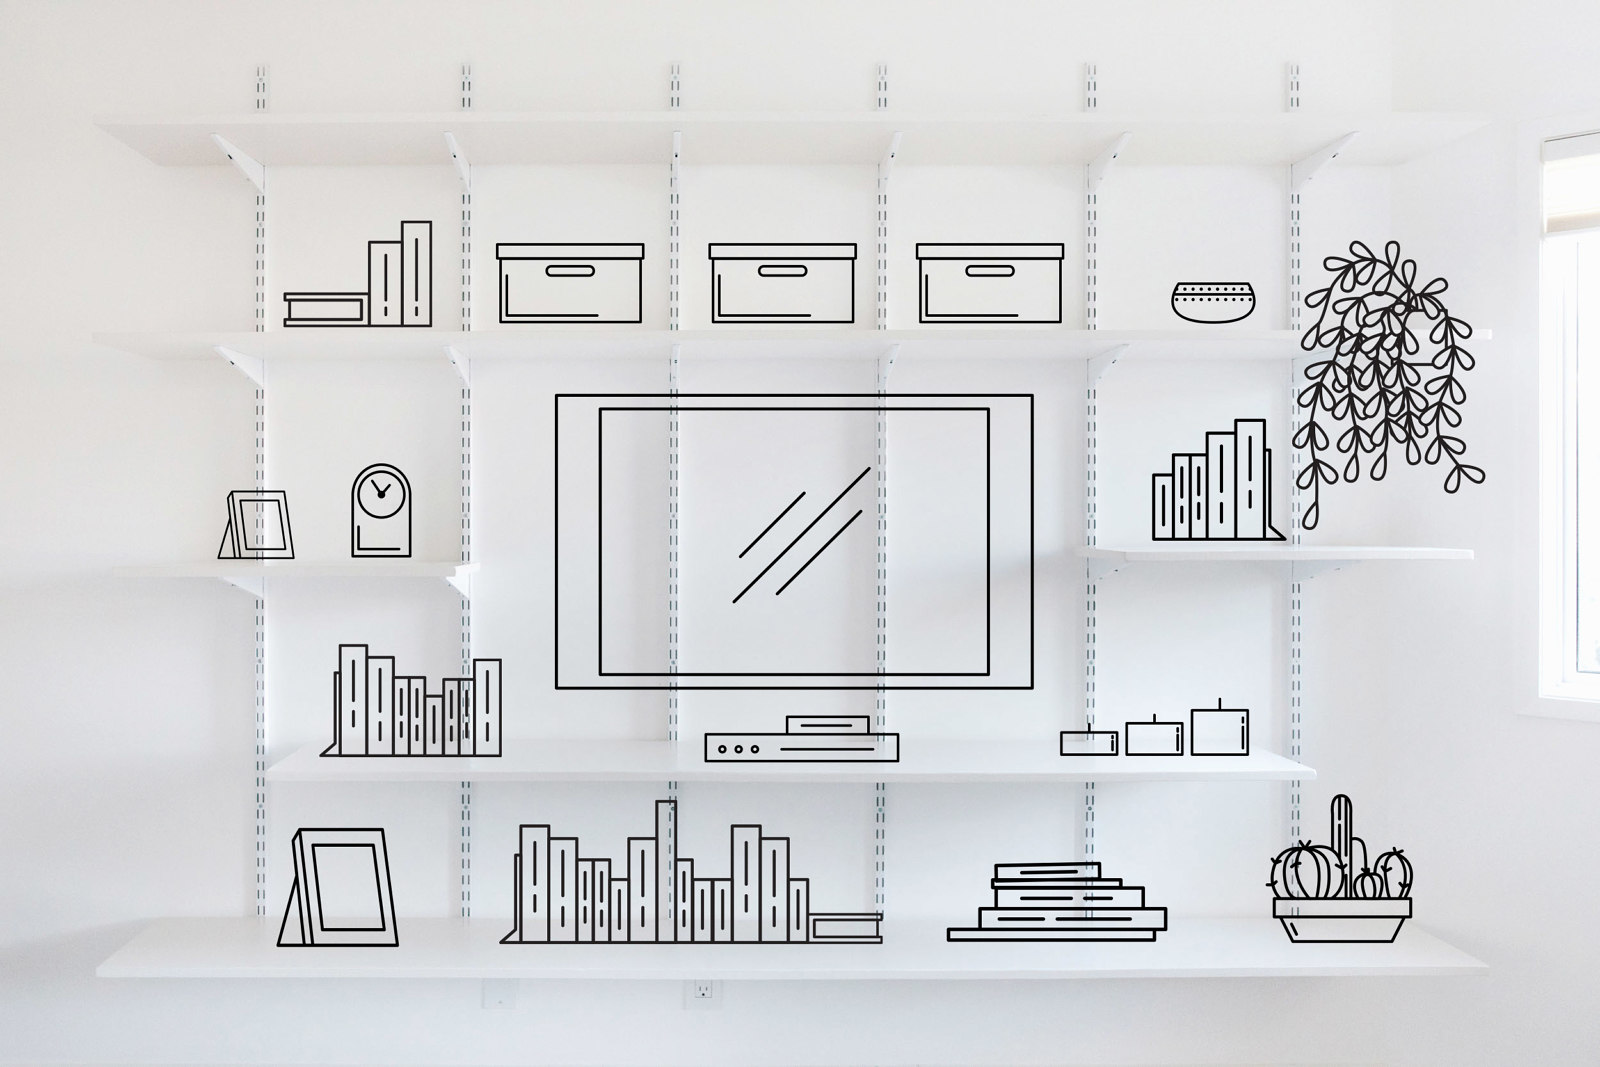
Our office/TV room has always been a place of clutter. It got so bad; it started looking more like a storage room than a space where we could live. With this renovation, I decided to attempt a much more clutter-free lifestyle, not hanging onto things that I don’t need. Eliminating storage was a blessing and a curse just the same – Basically the home equivalent of going cold turkey. The open shelving unit Tyler assembled is the perfect solution for the open wall it hangs on because the radiator on the ground makes it quite hard to put anything else in its place. We have to be much more conscious of what we put on the shelf now that everything is on display. The configuration of the shelves and the room forced us to put our TV front and center.
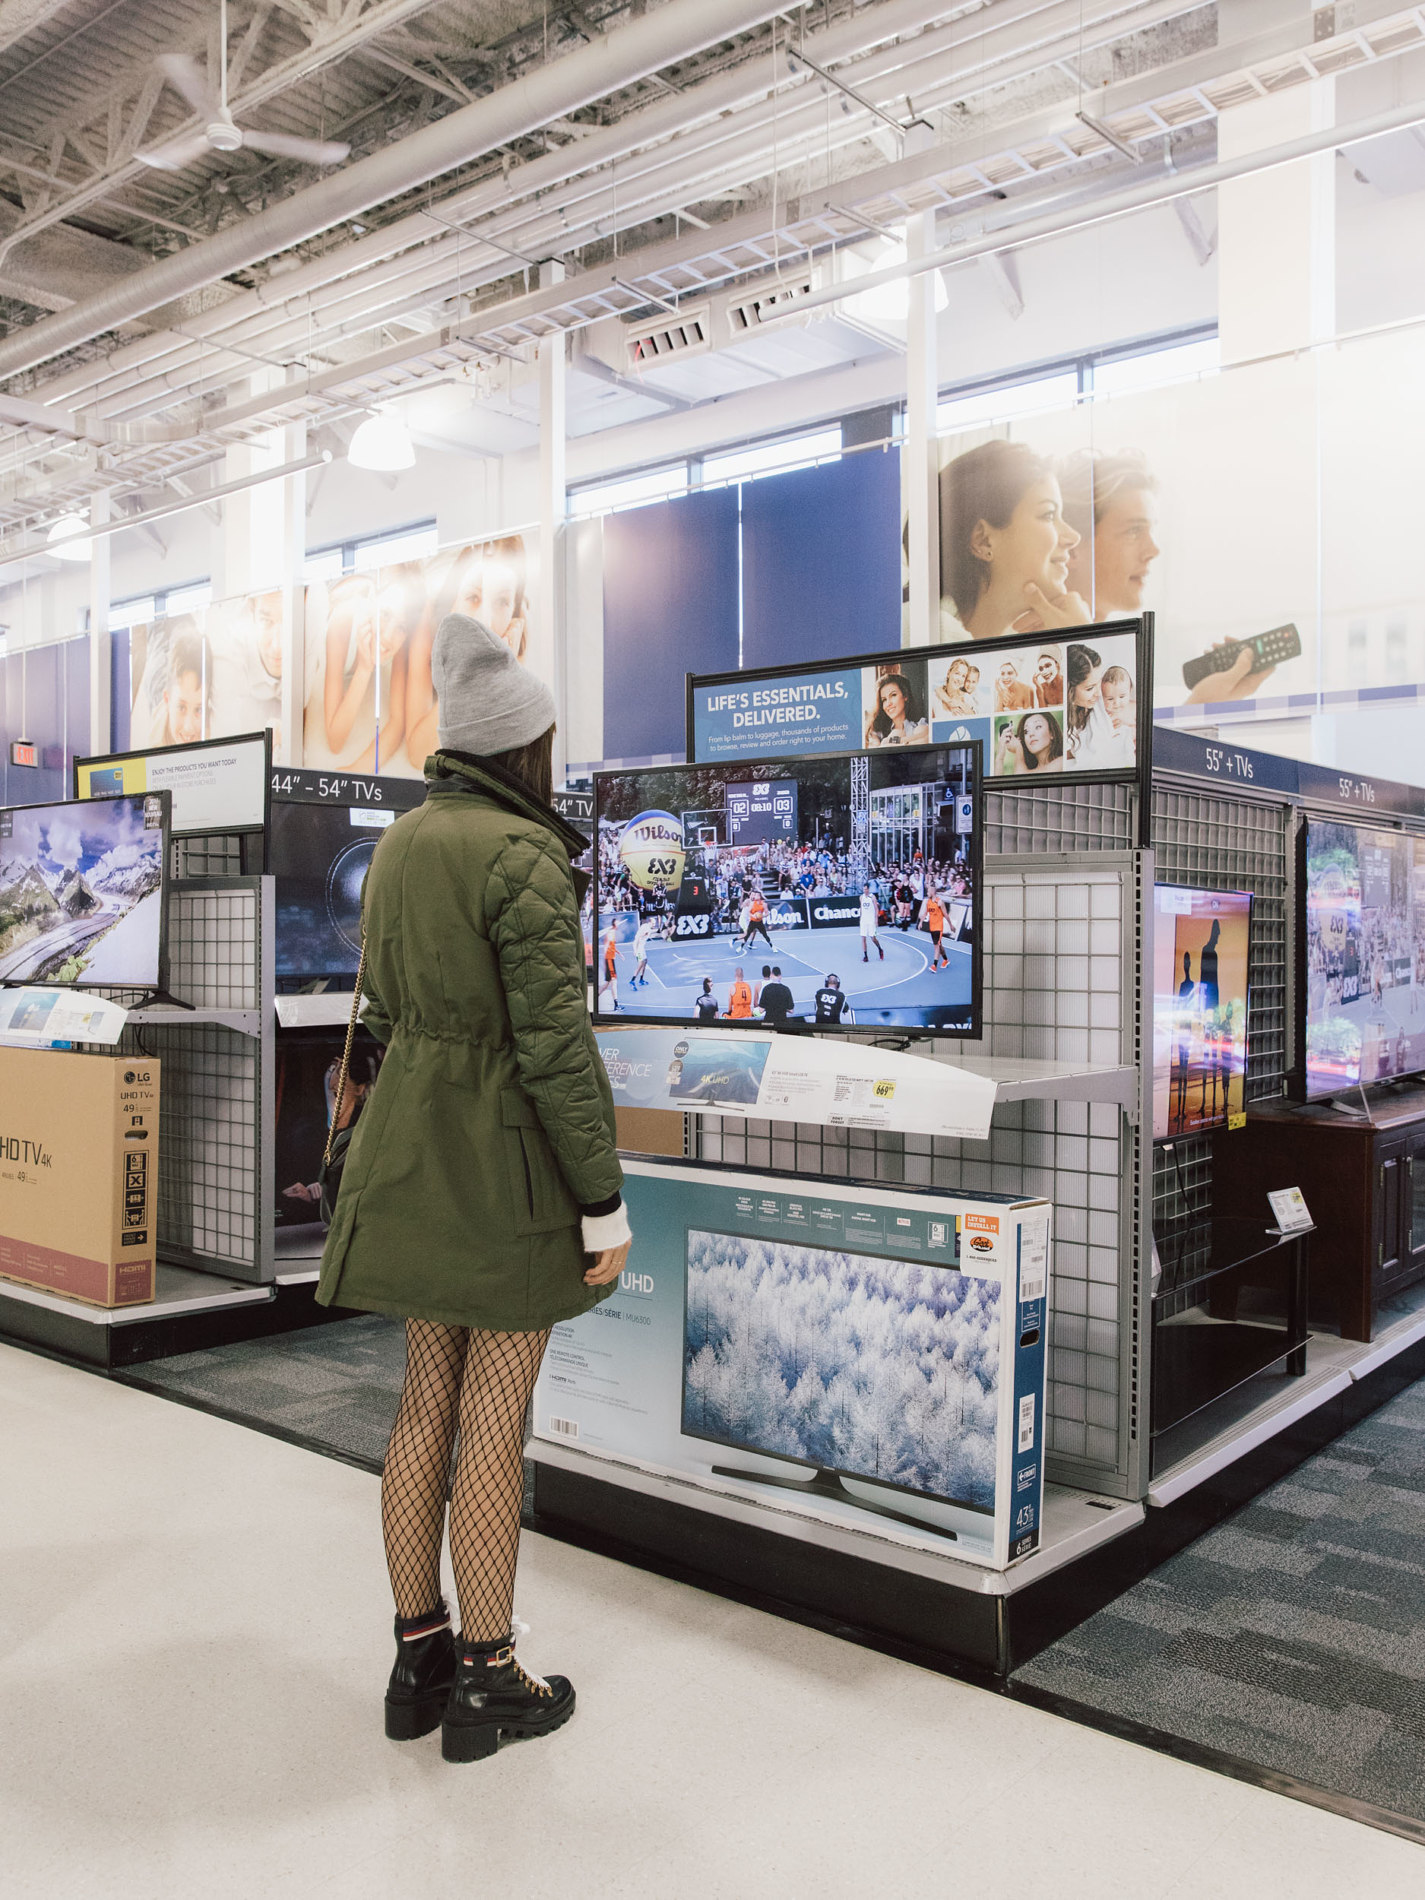
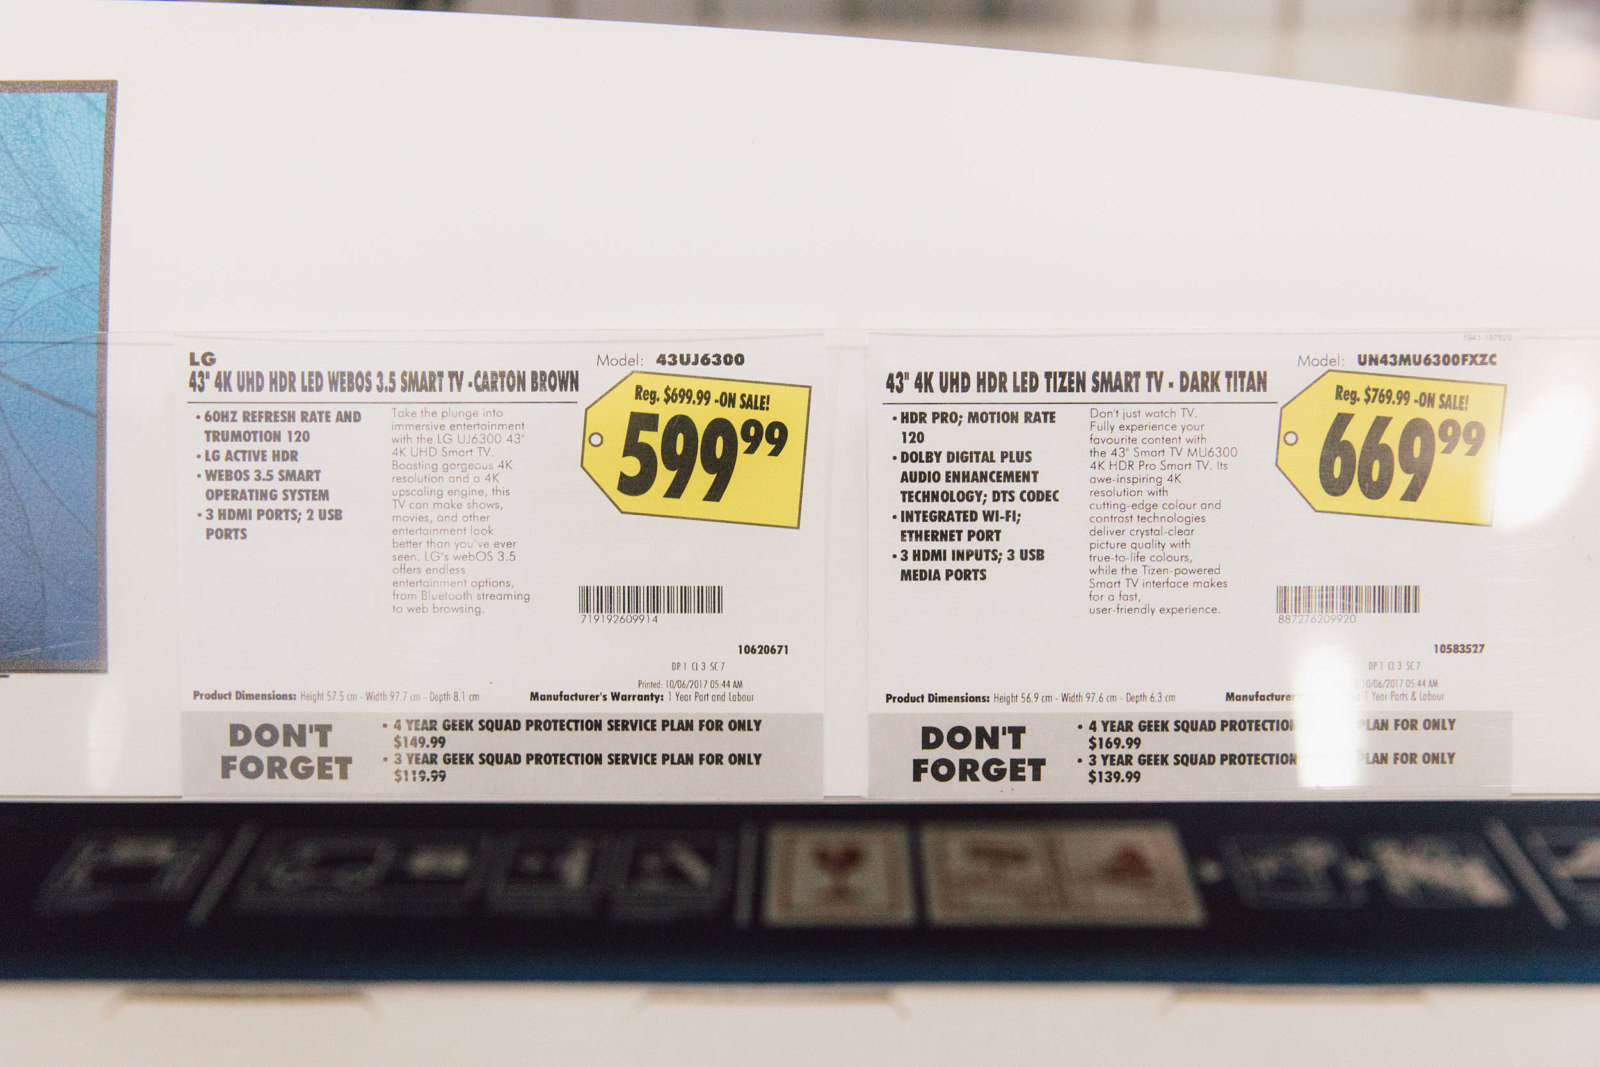
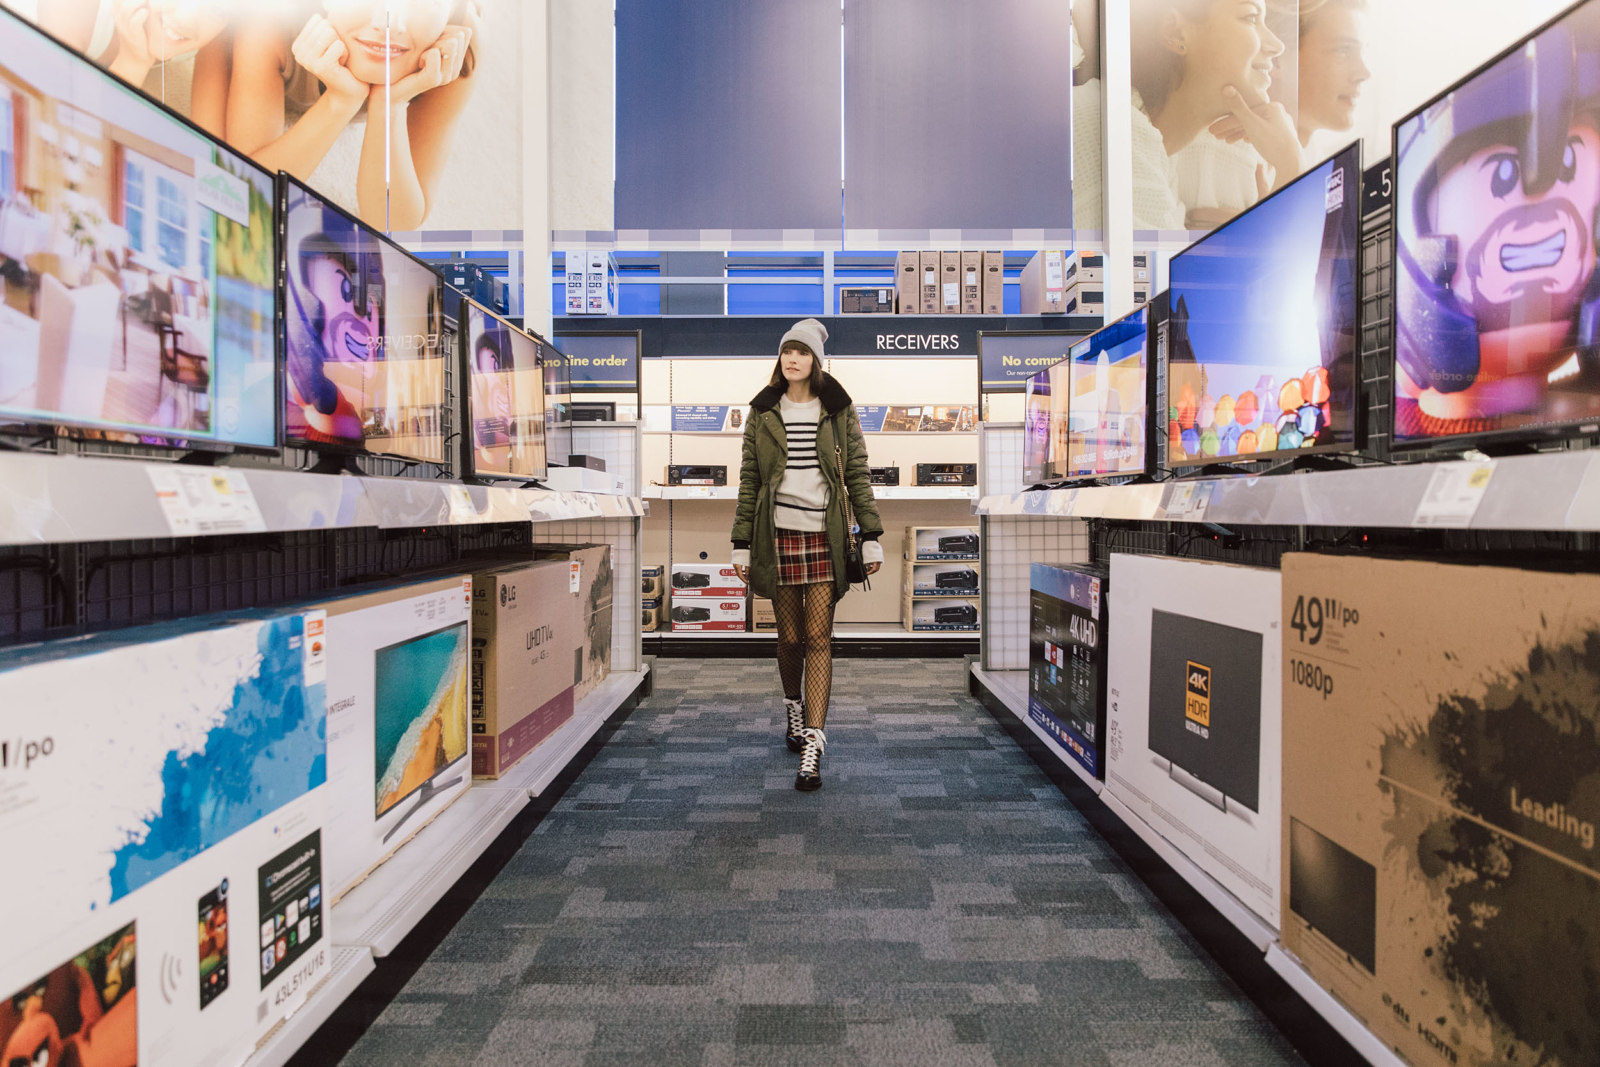
Now the challenge of finding the right one has begun. Tyler was really into the idea of getting a 4K screen to, I kid you not, watch his online videos in the highest possible resolution (LMFAO… but what do I know). The challenge we came across right away was that a 40″ TV is all of a sudden really hard to find. Turns out we also needed to look out for the depth of the TV base as our shelves got narrower. This made the pool of TVs to choose from very small. I spotted one in the MBNA Rewards catalogue, BUT I didn’t have enough points for it (I’ve only had my card for a few months). One of the things I like about my MBNA Rewards World Elite® Mastercard® is that I can also redeem my points for other rewards like gift cards and cash back. I opted for redeeming my points for cash back to use towards the TV. So we felt less guilty buying the TV!
Now that we got the TV in place, it’s time to get the rest of the room ready for company. Stay tuned for the final post to find we’ve made our house a home. To be continued…
To find out how you can get started with 10,000 bonus points after your first eligible purchase with the MBNA Rewards World Elite® Mastercard® by visiting the MBNA site, https://goo.gl/ynzJJF
The Toronto-Dominion Bank is the issuer of this credit card.
MBNA is a division of The Toronto-Dominion Bank.
All trade-marks are the property of their respective owners. ® MBNA and other trade-marks are the property of The Toronto-Dominion Bank.
Tags: best buy, diy, finance, home, home depot, home improvement, house and home, how to, mbna


Wow! This process of home renovation is always an exciting part of a new happiness! Great stuffs! 💗👍🏼💗
🌸🍃LA BIJOUX BELLA 🌸🍃| By Mia | A Creative Lifestyle Blog
Będzie świetnie <3
http://www.evdaily.blogspot.com